
Creating a shared location with samba on a linux Ubuntu Server station
First step is to download the Ubuntu CD image of Ubuntu Server.
In my case, it was ubuntu-16.04.2-server-amd64.iso
Decide where to install it.
I would not share the drive where Ubuntu Server is installed. So because of that, I would not install Ubuntu Server on a huge drive. So I would install Ubuntu Server on a small SSD drive for example.
Install Ubuntu Server.
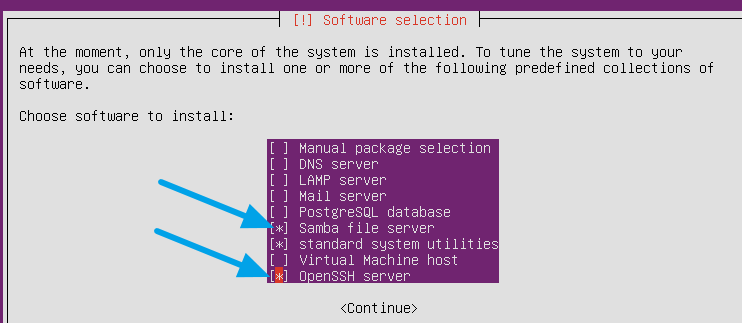
Following the basic steps BUT near the end of installation, at “Software selection”, make sure to have:
Prepare the “DATA” disk
Let’s suppose my data disk in sdb.
We need to:
We may use the fdisk command
We need to do it with sudo privilege.
Remember that actual action will be done when we will type “W” to actually write to the disk.
The whole process will look like this:

Format the drive.
Previous step has created for us the partition sdb1.
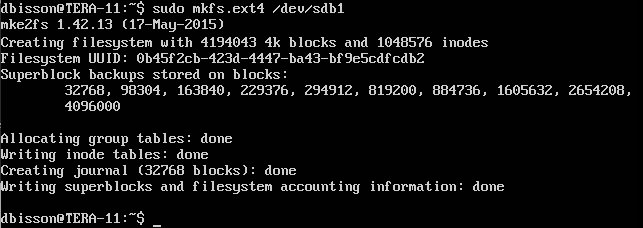
So we’ll format in ext4 that partition.
We may use the command mkfs.ext4.
We need sudo.
Whole action will looks like this:
Mount the partition on start up.
We need to have the system mount the partition on start up.
In /mnt/ we’ll create a directory which will be where it will be mount.
We’ll name it drive01.
We need to be sudo.
Here is the action:

Then, we need to add to /etc/fstab file a line to have the /dev/sdb2 be mounted to /mnt/drive01 folder.
We edit the file this way, using vi under sudo:

In the file we add a line like that.
Don’t forget the “s” at the end of “defaults”... (I’ve already lost enough time with that…)
So it looks like that.
Save that after.

Create the folder we will share
The folder that will be shared is not drive01.
It will be folder inside that drive01 branch.
We will manually mount that drive one time.
We will create in the drive01 folder the “sharedfolder” which will be the one that we will shared.
Please note that it is very important to do that creation of “sharedfolder” after we’ve successfully mount our “drive01” folder because it means when we will create the “sharedfolder” folder, it will be actually created on our sdb1 partition!!!
Also, we will set the owner of that folder to “nobody” so this way we will be able to read/write into that shared folder.
After that, we may umount.

At this point, it could be a good thing to reboot and make sure once rebooted that it will reboot without error and we’ll be able to go to that folder, /mnt/drive01 make sure we can see our sharedfolder.
It’s normal to see the Lost+Found folder, don’t worry….

Configure samba
We need to do a minimal configuration to instruct the samba service to actually know what it has to share.
So we will edit the file /etc/samba/

We will do two things in that file.
First,add the fact that for the share we want to have the user nobody be the actual user being the guest user. There is already a section [global] so we’ll all the line:
guest account = nobody
as written here:
Second, we’ll add the actual information about the folder we want to share. In my case, being a nostalgic of “LaCie” network attached server, I’ll call my share “openshare1” and that’s how windows will see it. I want to share everything with read/write access so my additional section at the end of the file will looks like this.
Save that!

Then either restart or just restart the service as this:

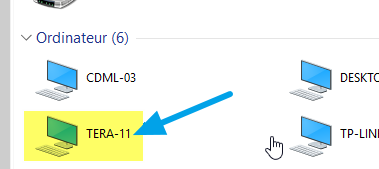
Then, in Windows, you may now launch a file explorer and attempt to access your new samba server. In my case, I named it “TERA-11”:
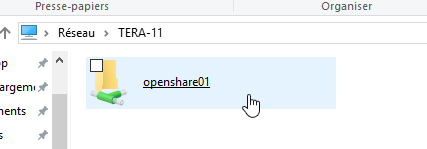
Then we may double click on it and checking we have access to the share:
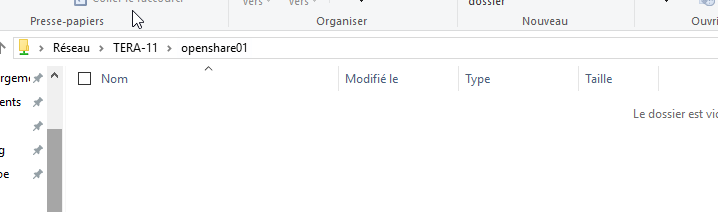
Then we may enter into that share make sure we can:
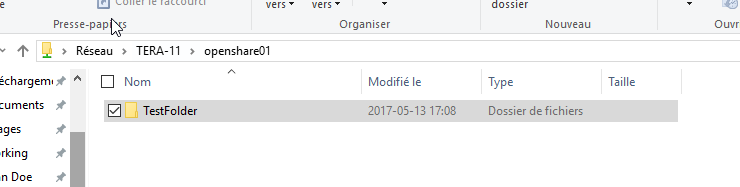
Then we may attempt to create a folder there, making sure it’s possible:
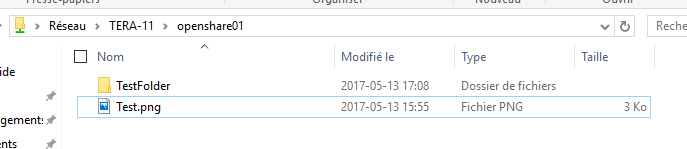
We may also attempt to copy a file, make sure we can:
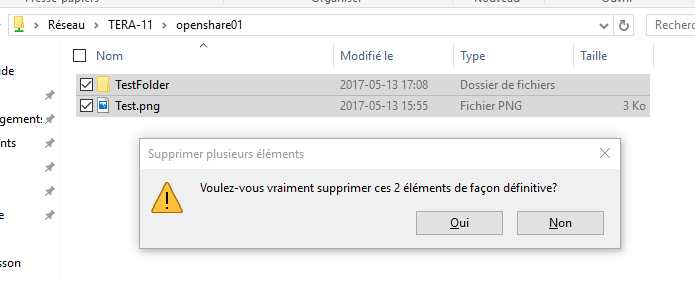
Then we may attempt to erase all that, making sure we can:
So that’s it!
